*This post may contain affiliate links for which I earn commissions.*
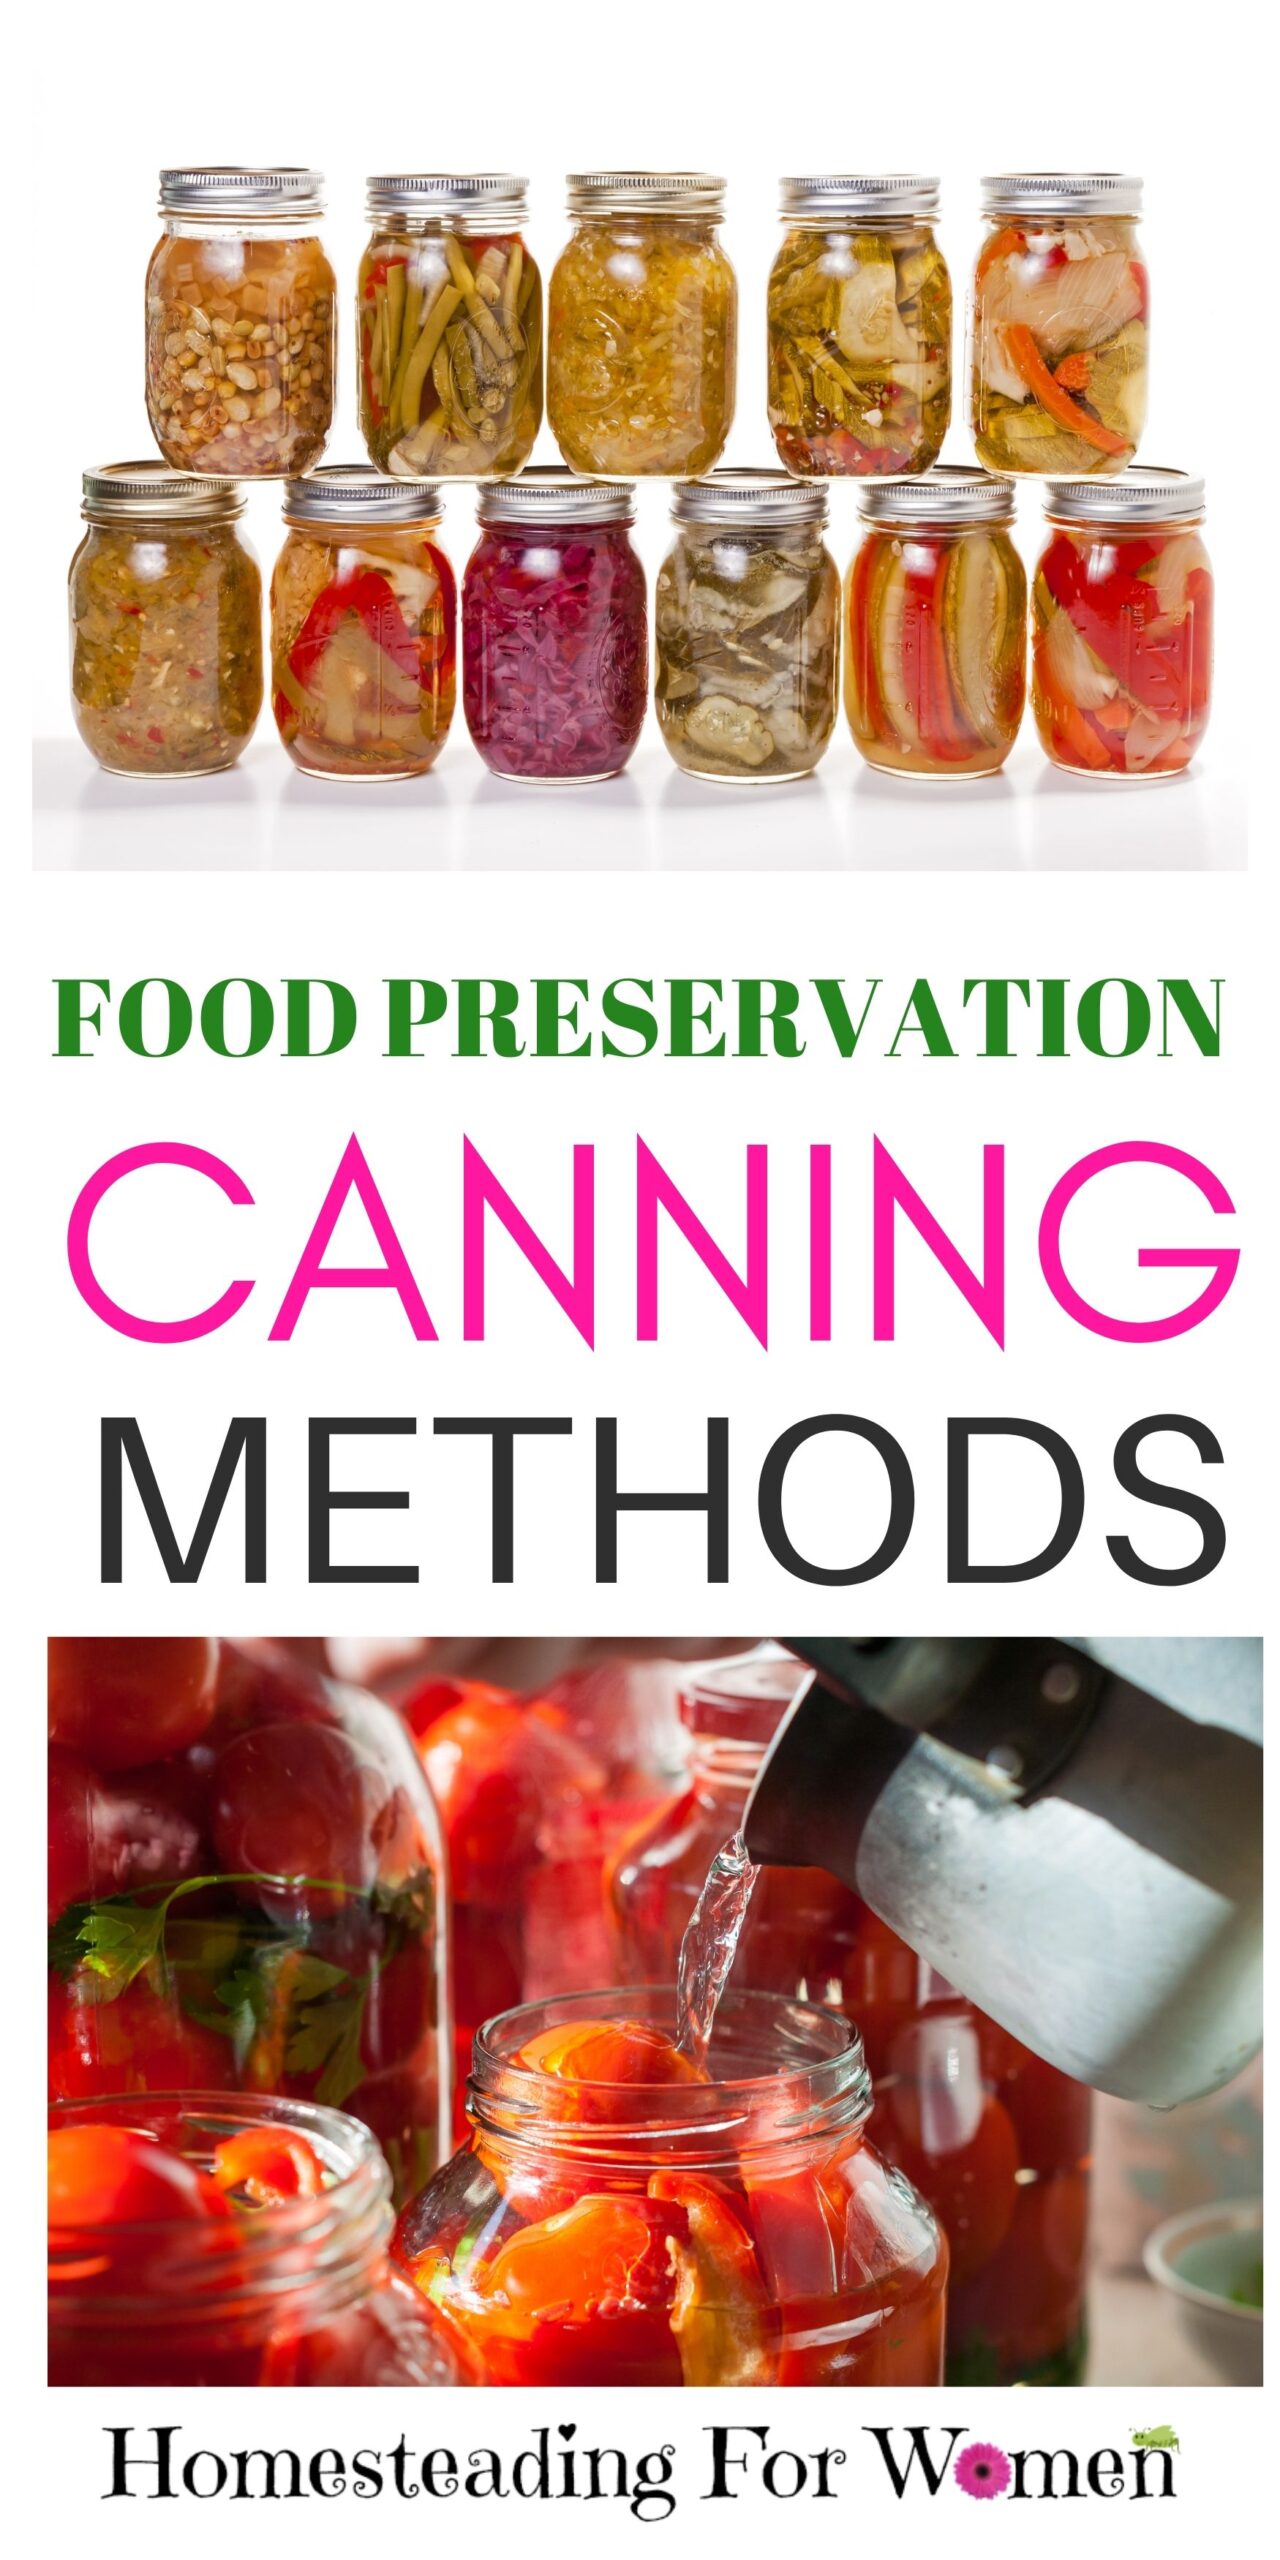
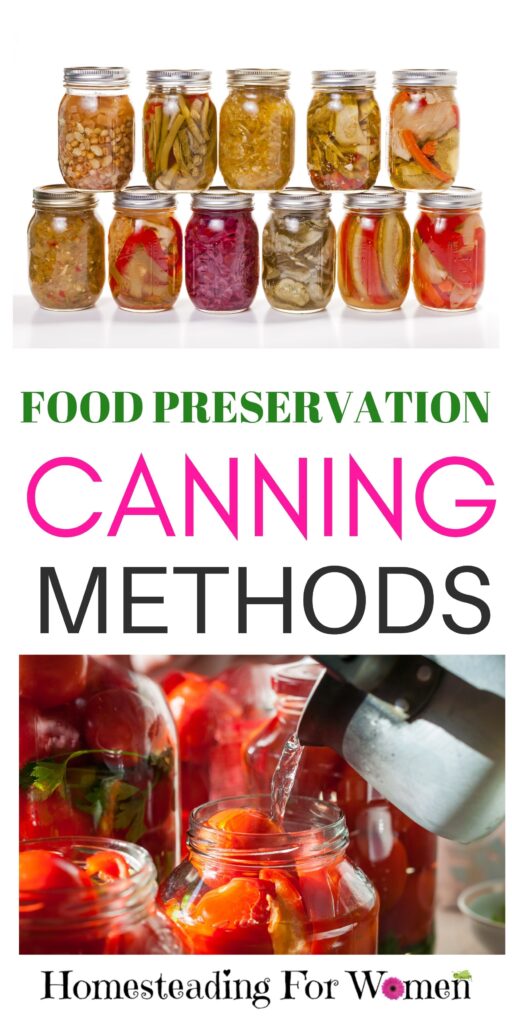
Food Preservation, Canning Like Grandma!
I know many of you want to learn how to preserve your own food. The best way to do that is to put them in glass jars, just like my grandma used to do. Today I’ll show you some different food preservation canning methods that many people still use across the country.
I remember going to grandma’s house and asking for a can of green beans, and she always gave me two with a jar of tomatoes for chili.
I loved those beans! Don’t worry if you don’t have the experience. I’m going to show you how to can your own fruits and vegetables, and it’s not hard to get started. I’ve written this massive article to help you get to learn the different food preservation canning methods for preserving your own fruits and veggies for your family.

Food Preservation Canning Methods For Fruits And Vegetables
Storing food for the winter months was a time-honored tradition back during the depression and before. Most people hunted or grew their own food. Walmart wasn’t here yet, so they couldn’t just run out for a gallon of milk whenever they wanted to. They had to learn to store food at harvest time when food was plentiful but spoiled quickly.
This tradition of food preservation canning methods was learned at a young age how to grow and store food properly so it wouldn’t spoil, and they would have plenty of food for the cold winter months when food was hard to come by.
Storing fruits gave families much-needed vitamin C to keep them healthy when life was more challenging in the harsh weather.
Canning History
Canning is a process that preserves food by sterilizing it with heat and sealing it in jars for later use. It keeps the food from going bad. A man in France, Nicolas Appert of France 1809, worked on the canning process when the army asked him to find a way to preserve food for the troops so they wouldn’t get sick from eating spoiled food.
Today we can safely store food in glass jars with no worries if done correctly. It is a beautiful way of storing food away when the harvest season is at its prime. Say tomatoes, for example. Most times, the tomatoes all get ripe at the same time. It’s often too many for friends and family to consume before most spoil.
That’s when canning comes into play. By canning those tomatoes, you can later enjoy them in soups and stews many months from the time of harvest.
How To Be Successful at Canning Fruits and Veggies
To be successful at canning fruits and vegetables, all you need is the proper equipment and to follow the instructions for each process. Then you will have a pantry full of beautiful jars full of your harvested fruits and vegetables from your garden.
You will then have plenty of good food to enjoy in the coming winter season when you can’t grow a garden any longer. Back in the day, it was essential to have a pantry full of fruits and vegetables so the family would have better food to eat during the winter, for the kids to continue to grow up healthy in those cold months when food was hard to get.
Tradition Lives On, Pass It Along To the Little ones!
The tradition lives on, though not as much as it used to. Hopefully, canning will see a comeback, and many more families will partake in this fantastic process and learn to preserve fresh farm foods on their own.
Even if you don’t grow a garden, everyone can learn to preserve food for rough times when they can’t get to the store or when things are tight.
Learning how to preserve farm-fresh fruits and vegetables will keep your family healthy because you won’t be adding harmful chemicals to your food. Such as with growing crops or preserving them for the store shelves. You will know that your family is eating and what your bringing to the table each night is safe.
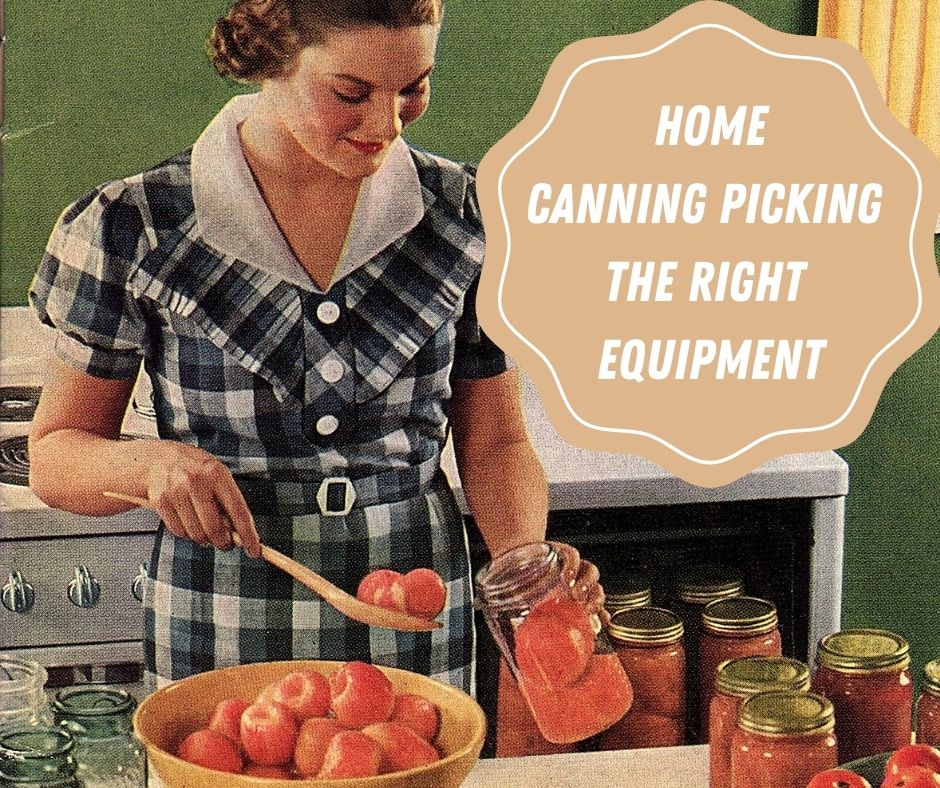
Home Canning Picking The Right Equipment
Organisms like mold and bacteria in the air and the soil cause foods to spoil and go bad. Enzymes cause foods like bananas to change color and texture, and after a few days, if not eaten, they will turn soft and go bad.
The canning process is when you heat up fruits and vegetables to kill off any organisms and enzymes; thus, they won’t go bad.
The heating process is done by a boiling water bath or the use of a steam-pressure canner. To determine which process to use depends on the type of food being canned.
Finding The Right Canner
Boiling Water Bath Canner – Fruits, tomatoes, and pickled vegetables. These are acid foods, and they can be safely canned by using the boiling water method.
Steam Pressure Canner- For all vegetables except tomatoes. To process low-acid foods safely, they must be cooked longer at a higher temperature. That’s why it’s necessary to use a steam-pressure canner to accomplish the higher temperature.
Getting Equipment Ready For The Canning Season
Be sure your canner is cleaned regularly throughout the canning season. Also, clean out the safety valve after each use with a string or thin cloth. To ensure it works properly.
Check the pressure gauge to ensure that it’s getting the proper pressure so that the canner will reach the required temperature during processing.
The weighted gauge should be cleaned after each canning process.
Check the seal on the pressure canner each season if the ring looks cracked or brittle. Then it will need to be replaced, especially if you’ve owned your canner for serval years and or use it often. These are easily found online and not expensive.
Water Bath Canner
This process is the simplest and often one picked by newbie enthusiasts because it requires only a few items to successfully can tomatoes, pickles, and fruit.
All you need is a big metal container, one that’s big enough to cover the size jar you’re canning fully. They come with a metal rack and tongs for pulling out the jars from the hot bathwater.
Glass Jars
You can buy these at the local store in packs with lids. But you can reuse those jars year after year as long as the jars don’t have any chips or cracks in the glass. Wash the jars in hot, soapy water and rinse well.
You can also reuse the sealing rings. After washing, those will need to be boiled. The same thing can be done to the jars. To ensure that the jars are clean for canning.
General Canning Procedure For Food Preservation
When selecting fruits and vegetables that you want to can, you want to pick and process those as quickly as possible before losing their freshness and becoming spoiled.
One trick shared by canning gurus for tomatoes is to core the tomatoes and freeze them as they become ripe. Then thaw them out in a colander when you have enough to can a batch. This will take the skin right off the tomatoes and save a step in the canning process.
Washing
- Before canning, be sure to thoroughly wash all fruits and vegetables, to get off all the bacteria often found in the dirt—Wash small batches at a time. And handle gently to avoid any bruising.
Filling Jars
- There are two ways to fill a jar; either raw are hot packed. Fruits and vegetables can be packed raw. Jellies would be filled hot.
- They should be packed in the jar tightly because they will shrink during processing. But foods such as corn and peas should be packed loose, and they tend to expand during canning.
- Hot food, such as jellies, salsas, and such. It should be packed rather loosely in the jars.
- When canning fruits with syrup or juice, the liquid should fill all around the food and cover it completely.
- Just remember to leave enough space at the top of the jar so the liquid doesn’t expand out. It depends on what you’re canning. But leave enough air space from the food and the lid to prevent overflow during the processing.
- The rule of thumb is somewhat between ½ to 1 ½ cups of liquid for a quart jar to cover food. And that depends on what you are canning. The liquid might vary some.
Canning Jar Lids
- Closures consist of two rings: the outer ring and the metal sealing lid. The sealing lid has a sealing compound on the lid that securely seals the jar after the canning process. You can tell if a lid is sealed by tapping on the lid. If it springs up, it’s not sealed. If it’s indented and doesn’t spring up, it’s sealed completely.
- Some jars won’t seal and will need to be processed again. This is normal, so don’t get discouraged if some of your jars didn’t seal.
It’s fun to listen to the popping sound the finished canned food lid makes when it seals. Once you get used to canning, you can tap your finger on the lid and tell by the sound if the jar has been sealed or not.
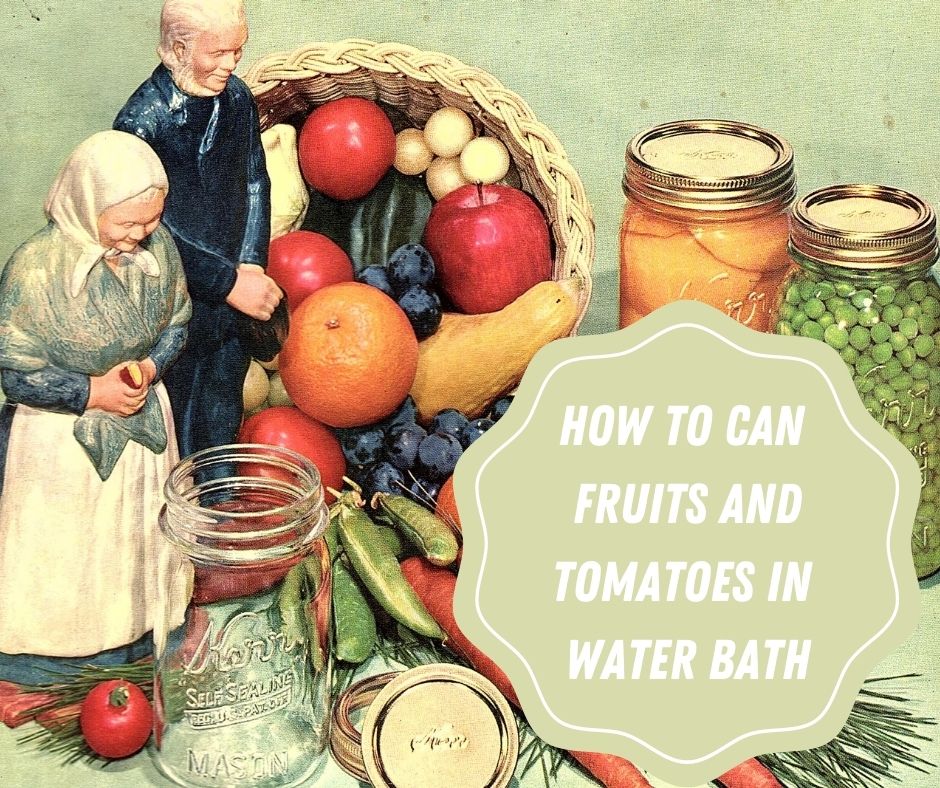
How To Can Fruits and Tomatoes in Water Bath
Fruits and tomatoes are the easiest to can. And a great place for beginners to learn the process of canning without buying expensive equipment. The water canning process can be done with just a large container with a rack and tongs.
Packing The Jar
- Raw packing- You simply add the raw tomatoes or fruit to the jar. Add water or juice to cover the food, and press the food down into the juice to make sure they are covered. They can use the water boiling method.
- Hot packing- Heat fruits in syrup, then pack in jars before canning. Adding the hot fruit, pack loosely in the jars, then cover with boiling liquid before closing with the lids. Then process in boiling water canning method.
Sweetening Fruit
A jar of peaches in syrup would sure be nice to eat during the winter months. Sugar helps canned fruit keep its shape, color, and taste.
To make the sugar syrup are as follows:
4 cups of water or juice
- 2 cups of sugar will make a thin syrup.
- 3 cups of sugar will make a medium syrup.
- 4 cups of sugar will make a heavy syrup.
To make jelly. Crush the fruit, such as strawberries, blackberries, or other types of berries. Heat to simmering over low heat. Cook to the consistency that you want. Then strain through a cotton cloth to get all the seeds out. If you don’t mind the seeds, then add them to jars while hot. Then can right away in a water bath.
Boiling Water Bath Canning
Add filled glass jars to a large pan that has boiling water or at least hot water. Add more water if needed so that the jars are covered with water. Don’t pour boiling water right on the jars, or they might break.
Be sure the jars are covered by an inch or two. Add the cover; when water reaches a rolling boil, that’s when you start your timer. You need to keep the water boiling gently and consistently for the allotted amount of time. To ensure proper canning.
Depending on your altitude that you live in, follow the recommended time in the chart below.
Increase process time if the time is called for is…
| Altitude | 20 minutes or less | More than 20 minutes |
| 1000 ft | 1 minute | 2 minutes |
| 2000 ft | 2 minutes | 4 minutes |
| 3000 ft | 3 minutes | 6 minutes |
| 4000 ft | 4 minutes | 8 minutes |
| 5000 ft | 5 minutes | 10 minutes |
| 6000 ft | 6 minutes | 12 minutes |
| 7000 ft | 7 minutes | 14 minutes |
| 8000 ft | 8 minutes | 16 minutes |
| 9000 ft | 9 minutes | 18 minutes |
| 10000 ft | 10 minutes | 20 minutes |
You Might Also Like To Read:
Easy Homestead Canning Food Tips For Beginners
Best Canner For Beginners
Canning Directions and Timing for Fruits and Tomatoes
Apples
Pare and core apples, then cut into pieces. You can drop your fruit into a mixture of 2 tablespoons of vinegar and salt per gallon. This will keep them from turning brown. Pack hot fruit and cover with water or syrup. Canning time Pint jars 15 minutes, Quart jars 20 minutes.
Peaches
Wash peaches and remove the skin. A trick to get the skin of the tomato skin off quickly is to dip the fruit in boiling water and then in cold water. Cut in halves and remove pits. To prevent them from turning dark, use the same process as with the apples by dipping them first into the vinegar solution.
Pack fruit up to ½ inch from the top of the jar. Cover with boiling syrup, be sure to leave ½ inch from the top. Add lids. Process in boiling water. Canning time Pint jars 25 minutes, Quart jars 30 minutes.
Tomatoes
Use only the firm, ripe tomatoes. First, you will need to remove the skins to do this, you simply dip the tomatoes into boiling water for less than a minute. You can easily do this by adding them into a wire basket and then dipping a batch at a time. Cut the stems out and remove the skins.
Add tomatoes to the jar and gently push down to fill up the spaces. Add ½ teaspoon of salt. Pack jars until there’s about ½ inch to the top. No need to add water put on the canning lids and process in a boiling water bath. Canning time Pint jars 35 minutes, Quart jars 45 minutes.
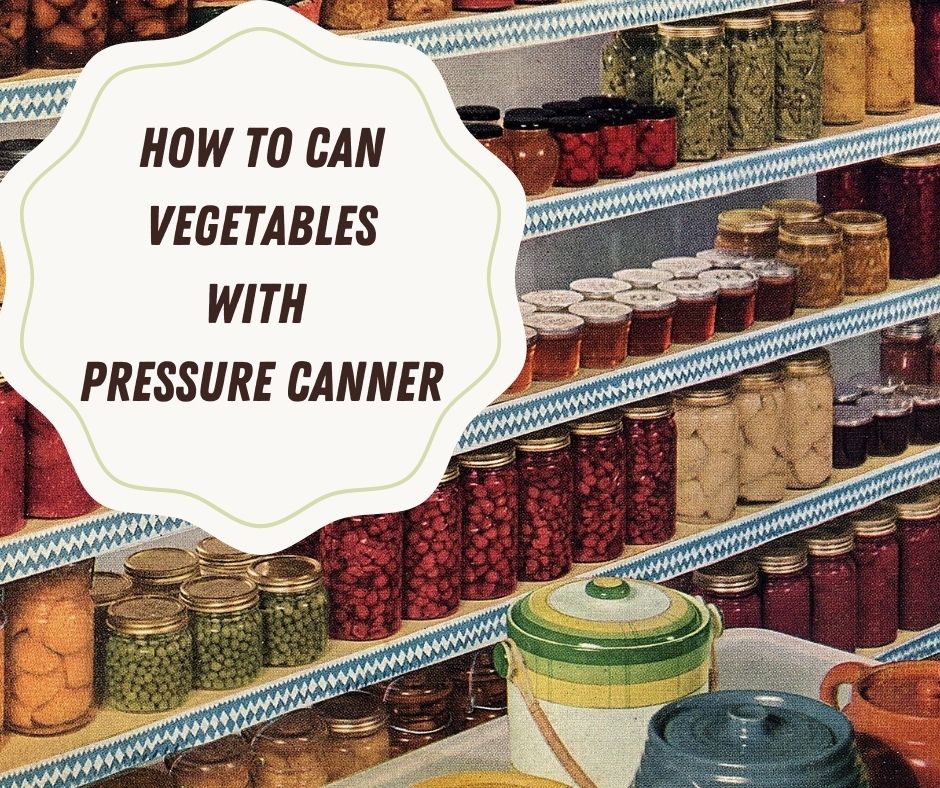
How To Can Vegetables With Pressure Canner
Canning with a pressure canner is for any vegetables other than tomatoes. Pressure canning will require a more expensive canner that is designed to hold canning jars. The lid is a sealed lid with temperature control on the top. This will ensure the proper temperature is reached inside the canner.
You can either pack your jars with cold raw vegetables or hot cooked. It’s a good idea if you’re going to cook the veggies before packing. It includes any cooking liquid because the vitamins and minerals for the vegetables might have cooked out into the water.
Using a Pressure Canner
You’ll want to read the manual that comes with your steam pressure canner. Here are some more pointers to help you get started.
Add about 3 inches of boiling water to the bottom of the canner. You also want to set your filled glass jars on a rack that comes with the canner. That way, the steam can flow around each jar.
When the processing time is up, don’t rush the cooling process. Let the canner stand until the pressure is at zero before you try and take off the lid.
Canning Green Beans
To heat pack green beans, cut beans and put in a pan filled with water, cover, and let boil for 5 minutes.
Then pack the hot beans loosely in the jars, add ½ teaspoon of salt to pints, and 1 teaspoon to quart jars. Then cover the beans in the jar with the hot liquid, leaving ½ inch space at the jar’s top. Add the canning lids. Canning time Pint jars 20 minutes. Quart jars 25 minutes.
Canning Corn
Wash and remove the silk from the corn. Cut the corn off the cob—pack corn in a jar about 1 inch from the top of the jar. Don’t press or shakedown once in the jar. Add ½ teaspoon of salt for pints and 1 teaspoon for quarts.
Fill the jars with boiling water and fill to ½ inch from the top. Add the canning lids. Canning Process for Pint jars 55 minutes and Quart jars 85 minutes.
Frequently asked questions
Q-Can you process food in jars in the oven?
- A-No, jars may explode. It’s dangerous. The oven won’t get the food in the jar hot enough to kill all the bacteria.
Q-Why can’t you use the water bath to process green beans like you do the tomatoes?
- A-The temperature of the food in jars during boiling water bath processing doesn’t get hot enough to ensure all the bacteria has been killed when processing other vegetables.
Q- Must glass jars and lids be sterilized by boiling before canning?
- No, not when boiling water bath or pressure canning method is used. They will be sterilized during the processing. You should wash them first with hot soapy water and rinse well before starting.
I hope you enjoyed this article on the different food preservation canning methods. Just remember to start simple and then add more complicated methods once you have the basics under your belt. Have fun!
Pin it for later!

Hi! I'm Michelle. You can find me planning, cooking, and often wrangling chickens in my spare time (who am I kidding? I have no spare time). I am the CEO and creator for homesteadingforwomen.com. All posts are reviewed and updated personally by ME - if you have any questions, feel free to contact me here.
- Cozy Fall Farmhouse Decor Ideas - October 4, 2025
- Fall Cleaning Checklist: 10 Easy Tips to Declutter & Organize Before the Holidays - October 1, 2025
- How to Harvest Black Walnuts the Easy Grandma Way (Simple Driveway Hack!) - September 27, 2025