

Welcome to Homesteading For Women – we hope you enjoy all our tips and tricks for homestead women! Please note that we use affiliate links and ads to generate income at no cost to you.
There’s nothing quite like the smell of homemade bread filling your kitchen—warm, cozy, and just a little bit magical. But if you’ve ever been put off by all the mixing, kneading, rising, and timing that bread baking requires, you’re not alone.
That’s where a bread machine comes in. These little kitchen wonders do the hard work for you. With just a few ingredients and the press of a button, you can enjoy bakery-style bread right at home—no experience necessary.
In this post, I’ll walk you through exactly how a bread machine works, break down each stage, and share my favorite tips for getting perfect loaves every time.
What Are the Main Parts of a Bread Machine?
Before we dive into the process, let’s take a quick look at the main parts of a bread machine and what they do:
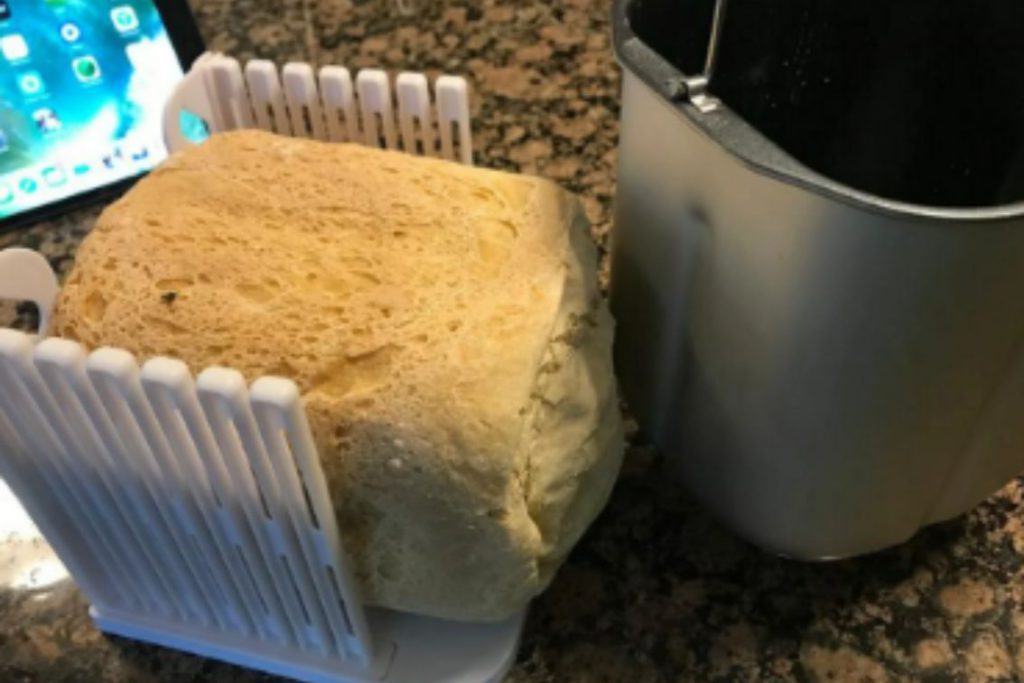
Bread Pan
This is the heart of the machine. You’ll add all your ingredients here, and the dough will mix, rise, and bake right in this one pan. Most pans are nonstick and removable, making cleanup super easy. I don’t even spray mine—my loaves come out clean every time.
Kneading Paddle (or Two)
Located at the bottom of the bread pan, the paddle stirs and kneads your dough. Some machines use two paddles, especially for larger or horizontal loaves.
Tip from experience: Keep track of the paddle! My son once put mine in a drawer, and I couldn’t bake until we found it.
Heating Element
This is the part you don’t see—it’s built into the base and heats the bread pan during the baking stage. It’s what gives your bread that warm, even bake.
Control Panel
This is your command center. Choose your bread type, crust darkness, loaf size, and sometimes even delay settings.
Lid (Sometimes with a Viewing Window)
The lid holds in heat and moisture while your bread bakes. If yours has a window, you can sneak a peek without letting the heat escape.
Fruit and Nut Dispenser (Optional)
Some machines include a built-in dispenser that adds ingredients like raisins or nuts at just the right time. If yours doesn’t, no problem—your machine will usually beep to remind you to add them manually.
Step-by-Step: How a Bread Machine Works
Once you press that start button, the machine takes over—and here’s what happens behind the scenes:
Step 1: Mixing
The paddle starts turning to combine your ingredients into a shaggy dough. You might see flour stuck to the sides early on, but it’ll all come together.
Step 2: Kneading
Now the machine kneads the dough for about 10 to 20 minutes. This step builds up the gluten so your bread has structure and that nice chewy texture. I love this part—it feels like the machine is doing all the hard work for me.
Step 3: First Rise (Proofing)
After kneading, the dough rests and rises while the machine gently warms the pan. This is when the yeast starts doing its magic.
I personally use the dough setting most often. After the first rise, I take the dough out, pour into bread pan, let it rise for 30 minutes or so, and bake it in the oven for 35 Minutes on 350.
Step 4: Punch Down and Second Rise
On some settings, the machine will briefly stir the dough again to remove air bubbles and allow it to rise a second time.
Step 5: Baking
The heating element turns on, and the bread begins to bake. This is when your kitchen starts smelling like a bakery—my favorite part!
Step 6: Keep Warm & Cooling
Once the bake is done, the machine will beep and sometimes enter a “keep warm” mode. I usually remove the bread soon after baking so the crust stays crisp and doesn’t get soggy from steam.
Why I Love Using a Bread Machine
If you’re new to baking, a bread machine makes the process incredibly beginner-friendly. Here’s why I think every kitchen needs one:
- It saves time: Toss in ingredients, press a button, and walk away.
- It’s consistent: You get reliable results, especially when you find recipes that work well in your machine.
- You control the ingredients: No preservatives, no mystery chemicals—just real, fresh food.
- And the smell? It turns your kitchen into a cozy haven.
What Else Can You Make in a Bread Machine?
Don’t let the name fool you—these machines can do more than just bake bread.
Here are a few things I regularly make using the dough setting:
- Homemade pizza dough
- Cinnamon rolls
- Dinner rolls
- Pretzels
The machine handles the mixing and kneading, and I shape and bake them in the oven. Some machines even offer settings for jam, cake, yogurt, and gluten-free bread.
If you’re gluten-free or have food allergies, many bread machines include special programs that make baking safe and easy.
Tips for Bread Machine Success
Want your first few loaves to turn out beautifully? Here are a few tips I’ve learned the hard way:
- Add ingredients in the recommended order.
Typically: liquids first, then dry ingredients, yeast on top. - Don’t lift the lid during baking.
It’s tempting, but it messes with the temperature. - Use fresh ingredients.
Expired yeast = flat, dense bread. - Start simple.
Basic white or whole wheat bread is a great place to begin. - Let your bread cool before slicing.
Give it 15–20 minutes or it may turn gummy inside. - Take notes.
Every machine is a little different. Keep track of what works. - Use room temperature ingredients.
I lay mine out before breakfast so they’re ready when I am. Even the egg and yeast. It really makes a difference in how the dough rises.
What’s Next?
Now that you know what goes on inside a bread machine, you’re already ahead of the game. Start with a simple loaf, experiment with your favorite ingredients, and make notes as you go.
Need help picking the right machine? Curious which settings to use for cinnamon rolls or pizza dough? Be sure to browse the rest of my site—I’ve got plenty of tips, reviews, and bread machine recipes to help you bake with confidence.
And don’t worry if that first loaf disappears before it cools. Around here, that just means it turned out really good.

Hi! I'm Michelle. You can find me planning, cooking, and often wrangling chickens in my spare time (who am I kidding? I have no spare time). I am the CEO and creator for homesteadingforwomen.com. All posts are reviewed and updated personally by ME - if you have any questions, feel free to contact me here.
- Caring for Aging Parents: What I’ve Learned the Hard Way (And Why I’m Planning Ahead Now) - August 4, 2025
- 7 Must Get Beginner Herbal Books For Your Library - July 30, 2025
- What to Have Ready When the Power Goes Out (Even at 6AM!) - July 27, 2025
