Welcome to Homesteading For Women – we hope you enjoy all our tips and tricks for homestead women! Please note that we use affiliate links and ads to generate income at no cost to you.

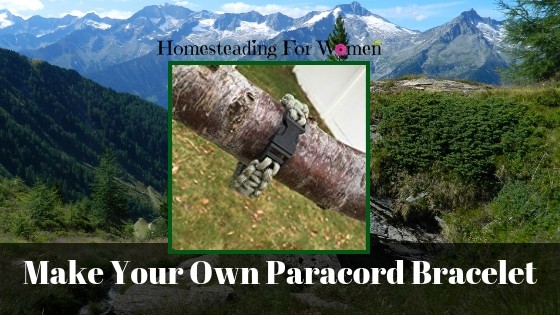
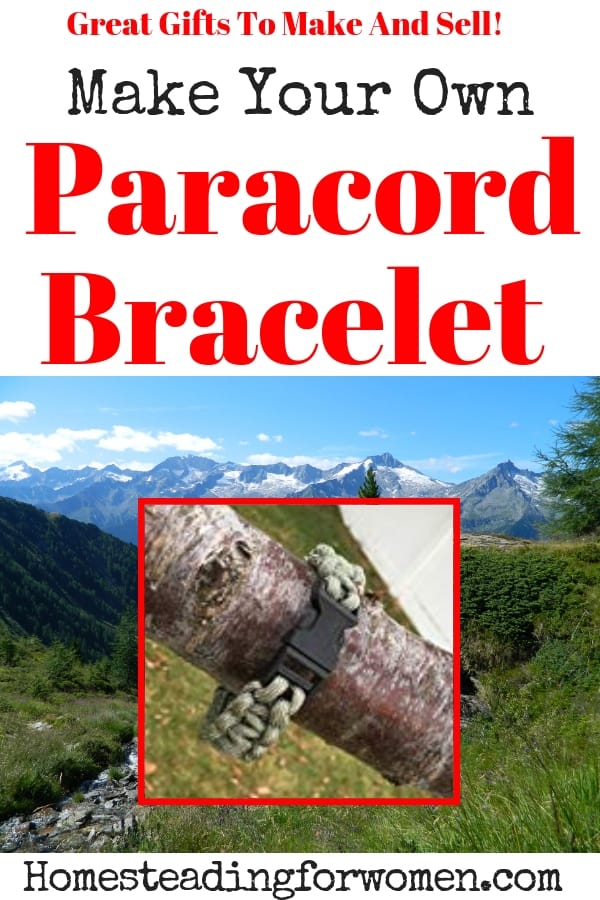
I’ve always wanted to learn how to make one of these for a long time now. Here’s your chance to learn with me how to make your own paracord bracelet. We were at a festival one year where boy scouts were making them for extra money for the troup and selling them. I thought it was a great idea, plus they would get a badge for it too. They were even teaching how to make one. Which was cool, hubby was in a rush to visit all the antique booths so I didn’t get to make one then. Later ended up buying all the stuff to make some a few years ago but never got around to it. Hubby took the cord and did something else with it so I need to start over.
These are handy things for many things if you in an emergency situation and it’s always a good idea to have one if your going camping. You never know when you need to string up a clothesline or fix a broken shoelace in your boot. There are so many things you can do with this cord, not only for survival but on the homestead. I’m sure what I would use it more for is to tie a leash to one of my dogs. But I did have a boot string break while I was hiking with hubby and we were miles in, with nothing to fix it.
Besides I think they would make awesome gifts for all my guys and gals this year for Christmas. You could even make some to sell and recoup your expense of supplies. But really they are super cheap to make.
Parachute Cord Bracelet Instructions
Supplies Needed:
Scissors
Tape
Lighter
Make your own paracord bracelet
You will need to measure out the paracord, depending on who your making it for most videos say 1 foot for every inch of the weave that you make, this will give you a little bit more cord than you need, but that’s better than having to little cord. So in simple terms approximately 9 feet for about 7 inch wrist circumference. You can adjust accordingly to the size of the wrist of the person you are making it for.
After you’ve measured out your cord, you want to get one of your clips. I found the best quality clips at my online store, you don’t want really cheap ones that will break. The review on these Clips were the best.
How to braid a paracord
After you attach the cord to one end of the clip your now going to braid your paracord. Follow along with the video starting on the left side making the braid then tightening it up. Then switch to the right side. Tightening up your weave each time as you go. You can use the tape to hold your project. Or you can buy a jig to make it easier.
Just keep going following the left/right weave until you reach the desired length. Then attach the other clip to the end. Clip the ends and carefully burn the ends as shown in the video.
I hope this has helped you to make your own Paracord bracelet or even make some for gifts for all your friends and family. Please share with us your creations!
Happy Crafting!
Michelle 🙂
Pin This For Later!

- Caring for Aging Parents: What I’ve Learned the Hard Way (And Why I’m Planning Ahead Now) - August 4, 2025
- 7 Must Get Beginner Herbal Books For Your Library - July 30, 2025
- What to Have Ready When the Power Goes Out (Even at 6AM!) - July 27, 2025
